Meet the tools
See how they work
Quick recap
-

The Cervico Guide
Is included in both the Cervico Premium kit and Cervico Essential kit. It’s a must have tool that will aid you in choosing the appropriate healing abutment shape and size.
-
The Cervico Premium Mold
Works with both analogic and digital impression protocols
Allows for the fabrication of identically shaped anatomical impression posts
Standardized process allows the clinician or the assistant to pre-fabricate a stock of shapes and sizes anatomical healing abutments, ready for use prior to surgery.
-
The Cervico Essential Mold
The Essential Mold is best suited for clinicians that use an intra-oral scanner for their impressions.
Protocol requires the fabrication of the anatomical healing abutment at time of surgery.
In a nutshell
you should opt for the…
-
if you are looking for the best available solution when it comes to soft tissue management.
-
if you are working with multiple implant systems and use digital workflows to deliver your final prosthesis
-
If you are looking for the most cost-effective solution to provide your patients with personalized implant therapy protocols.
Still not sure what would be the option for your clinic?
Keep reading below, or simply message us through the online chat available!
You can also send us an e-mail and we will get back to you as soon as possible.
Overview.
The Cervico Guide is a re-usable, autoclavable, multi-use tool that can be used for an accurate, easy and fast intra-oral identification of the proper size and shape cervico healing abutment that is needed for the patient.
This tool can additionally be used for the following:
– Diagnostic guide: Evaluation of the mesio-distal dimensions of the edentulous space.
– Surgical guide: Prosthetically driven osteotomy preparation.
What’s included:
• Guide Silicon Tray • Magnetic Retention Handle
• 4 Guide Pins • 20 Stainless Steel Tabs • 2 Depth Gauges
Cervico Guide
Cervico Guide Stainless steel tabs coding and use.
Outside Row
Anatomically shaped tabs (4 categories of teeth x 3 sizes for each one =12 in total) that are utilized in order to choose the proper shape and size anatomical healing abutment in need for any particular clinical case. These tabs have two bores, a centered and an off-centered one. The bores allow for the tabs to be installed on top of the Cervico Guide Pins (see below) in two different configurations that in turn correspond to the two different types of custom healing abutments that can be fabricated by the Cervico Mold.
All types of tabs (anteriors, premolars, square shaped molars and elongated square shape molars) are available in three different sizes (small, medium, large)
Inside Row
Cylindrical shaped tabs (8) with a coding number that ranges from from 5 to 12. Their code represents their actual diameter in millimeters. The bore in located in the middle of these tabs allow for perfectly centered implant placement, as long as the engraved lines are aligned with the occlusal lines of the adjacent teeth.
Cervico Guide Pins
The Cervico Implant Guide Pins can be used for evaluation of the correct position and angulation of the implant osteotomy in relation to the desired cervical profile during implant osteotomy preparation. The top half of the pin is the same for all 4 sizes in order to allow the Cervico Guide tabs to be installed on top of them, while the bottom half changes in diameter to facilitate different stages of the osteotomy. The pins also have a ring that allows you to visualize the platform of an implant, depending on the size as following:
Ring diameter of the Cervico Guide Pins
• Ciel: 3.0mm • Green: 3.5mm• Purple: 4.5mm• Gold: 5.5mm

The four different diameters of the bottom half of the Cervico Guide pins which is introduced into the implant osteotomy and correspond to different drill sizes.
How it works
By simply evaluating the prosthetic space with the tab connected to the handle the clinician can identify, and therefore correlate, which size and shape cervico abutment needs to be prepared. The cervical tab of the guide with coding(pS) corresponds to the well of the mold with (pS) coding, etc.
This tool can also be used as a surgical guide for the proper positioning of the implant osteotomy.
Orientation T line of the cervical tabs, serve as reference for correct orientation of the prosthetic connection of the implant in space. This will allow proper orientation of the cervico abutment once coupled with the implant.
Implant companies utilise orientation markers on their implant carriers to allow proper control of implant prosthetic connection orientation in space. Orient these markers towards the T-line.
For example:
External Hex or Internal Hex or Octagon or Square Connections: Flat seat of connection (or implant carrier) parallel to the T-line
Trilobe Connections: Vertex of connection pointing towards the T-Line
Grove/Locks Connections: Orientation markers of implant carrier pointing towards the T-line.
Cervico Premium Mold
Overview
The Cervico Mold is an in-office tool used for the fabrication of the cervico healing abutments and impression posts.
It can also be used for the duplication of a modified healing abutment or temporary prosthesis to a duplicate impression post. It features 17 wells that can be used for all of the above purposes.

What’s included:
• Base screw driver •VPI prosthetic connection inserts*
• Centered Silicone Insert • Mold Base
*A variety of VPI prosthetic connection inserts is available, in order to facilitate multiple implant systems from multiple companies and their respective connection types and sizes.
How it works
The top ring of the Cervico Mold carries a letter coding that corresponds to the shape and size of the well of the silicone insert.
The bottom ring of the base has 36 sockets which accept the VPI Prosthetic connection inserts (VPI inserts). These sockets are divided in four groups that allow the installation of the VPI inserts in four different depths, ranging from 0mm (crestal implant placement) to -3mm (sub-crestal implant placement of -1mm, -2mm and -3mm). All the sockets of the same group have no difference to each other. The reason for providing many sockets of the same height is to allow the potential installation within the Cervico Mold of many different VPI inserts. This will allow the same mold to be functional with many different implant systems, as implants range in connection type and size.
The top ring of the Cervico Mold, along with the silicone insert installed in a stable position within it, can rotate in relation to the bottom ring of the Cervico Mold. This allows the alignment of different wells of the silicone insert with different VPI inserts installed into the bottom ring of the Cervico Mold.
What is a VPI prosthetic connection insert?
A VPI Prosthetic connection insert is a unit with innovative design that replicates the prosthetic connection and platform of a given implant. The innovative external design allows the installation of the VPI insert into the bottom ring of the Cervico Mold in only one functional orientation and a stable position while its internal design allows it in many occasions to be functional with multiple platform sizes of the same prosthetic connection. Each VPI insert is available with a retention screw that allows its safe coupling to the bottom ring of the Cervico Mold. A plethora of different VPI inserts are available in order to fulfil the clinical needs.

Fabrication process of a Cervico healing abutment.
Silicone Inserts.
The Cervico Mold is available with the centered silicone insert.
An off-centered silicone insert is also available for purchase as an accessory. This silicone insert allows the fabrication of Cervico healing abutments and impression posts that have a part of their custom body off centered in relation to the axis of the temporary abutment or impression post. This is particularly useful for lingually placed implants in immediate extraction and implantation Protocols.
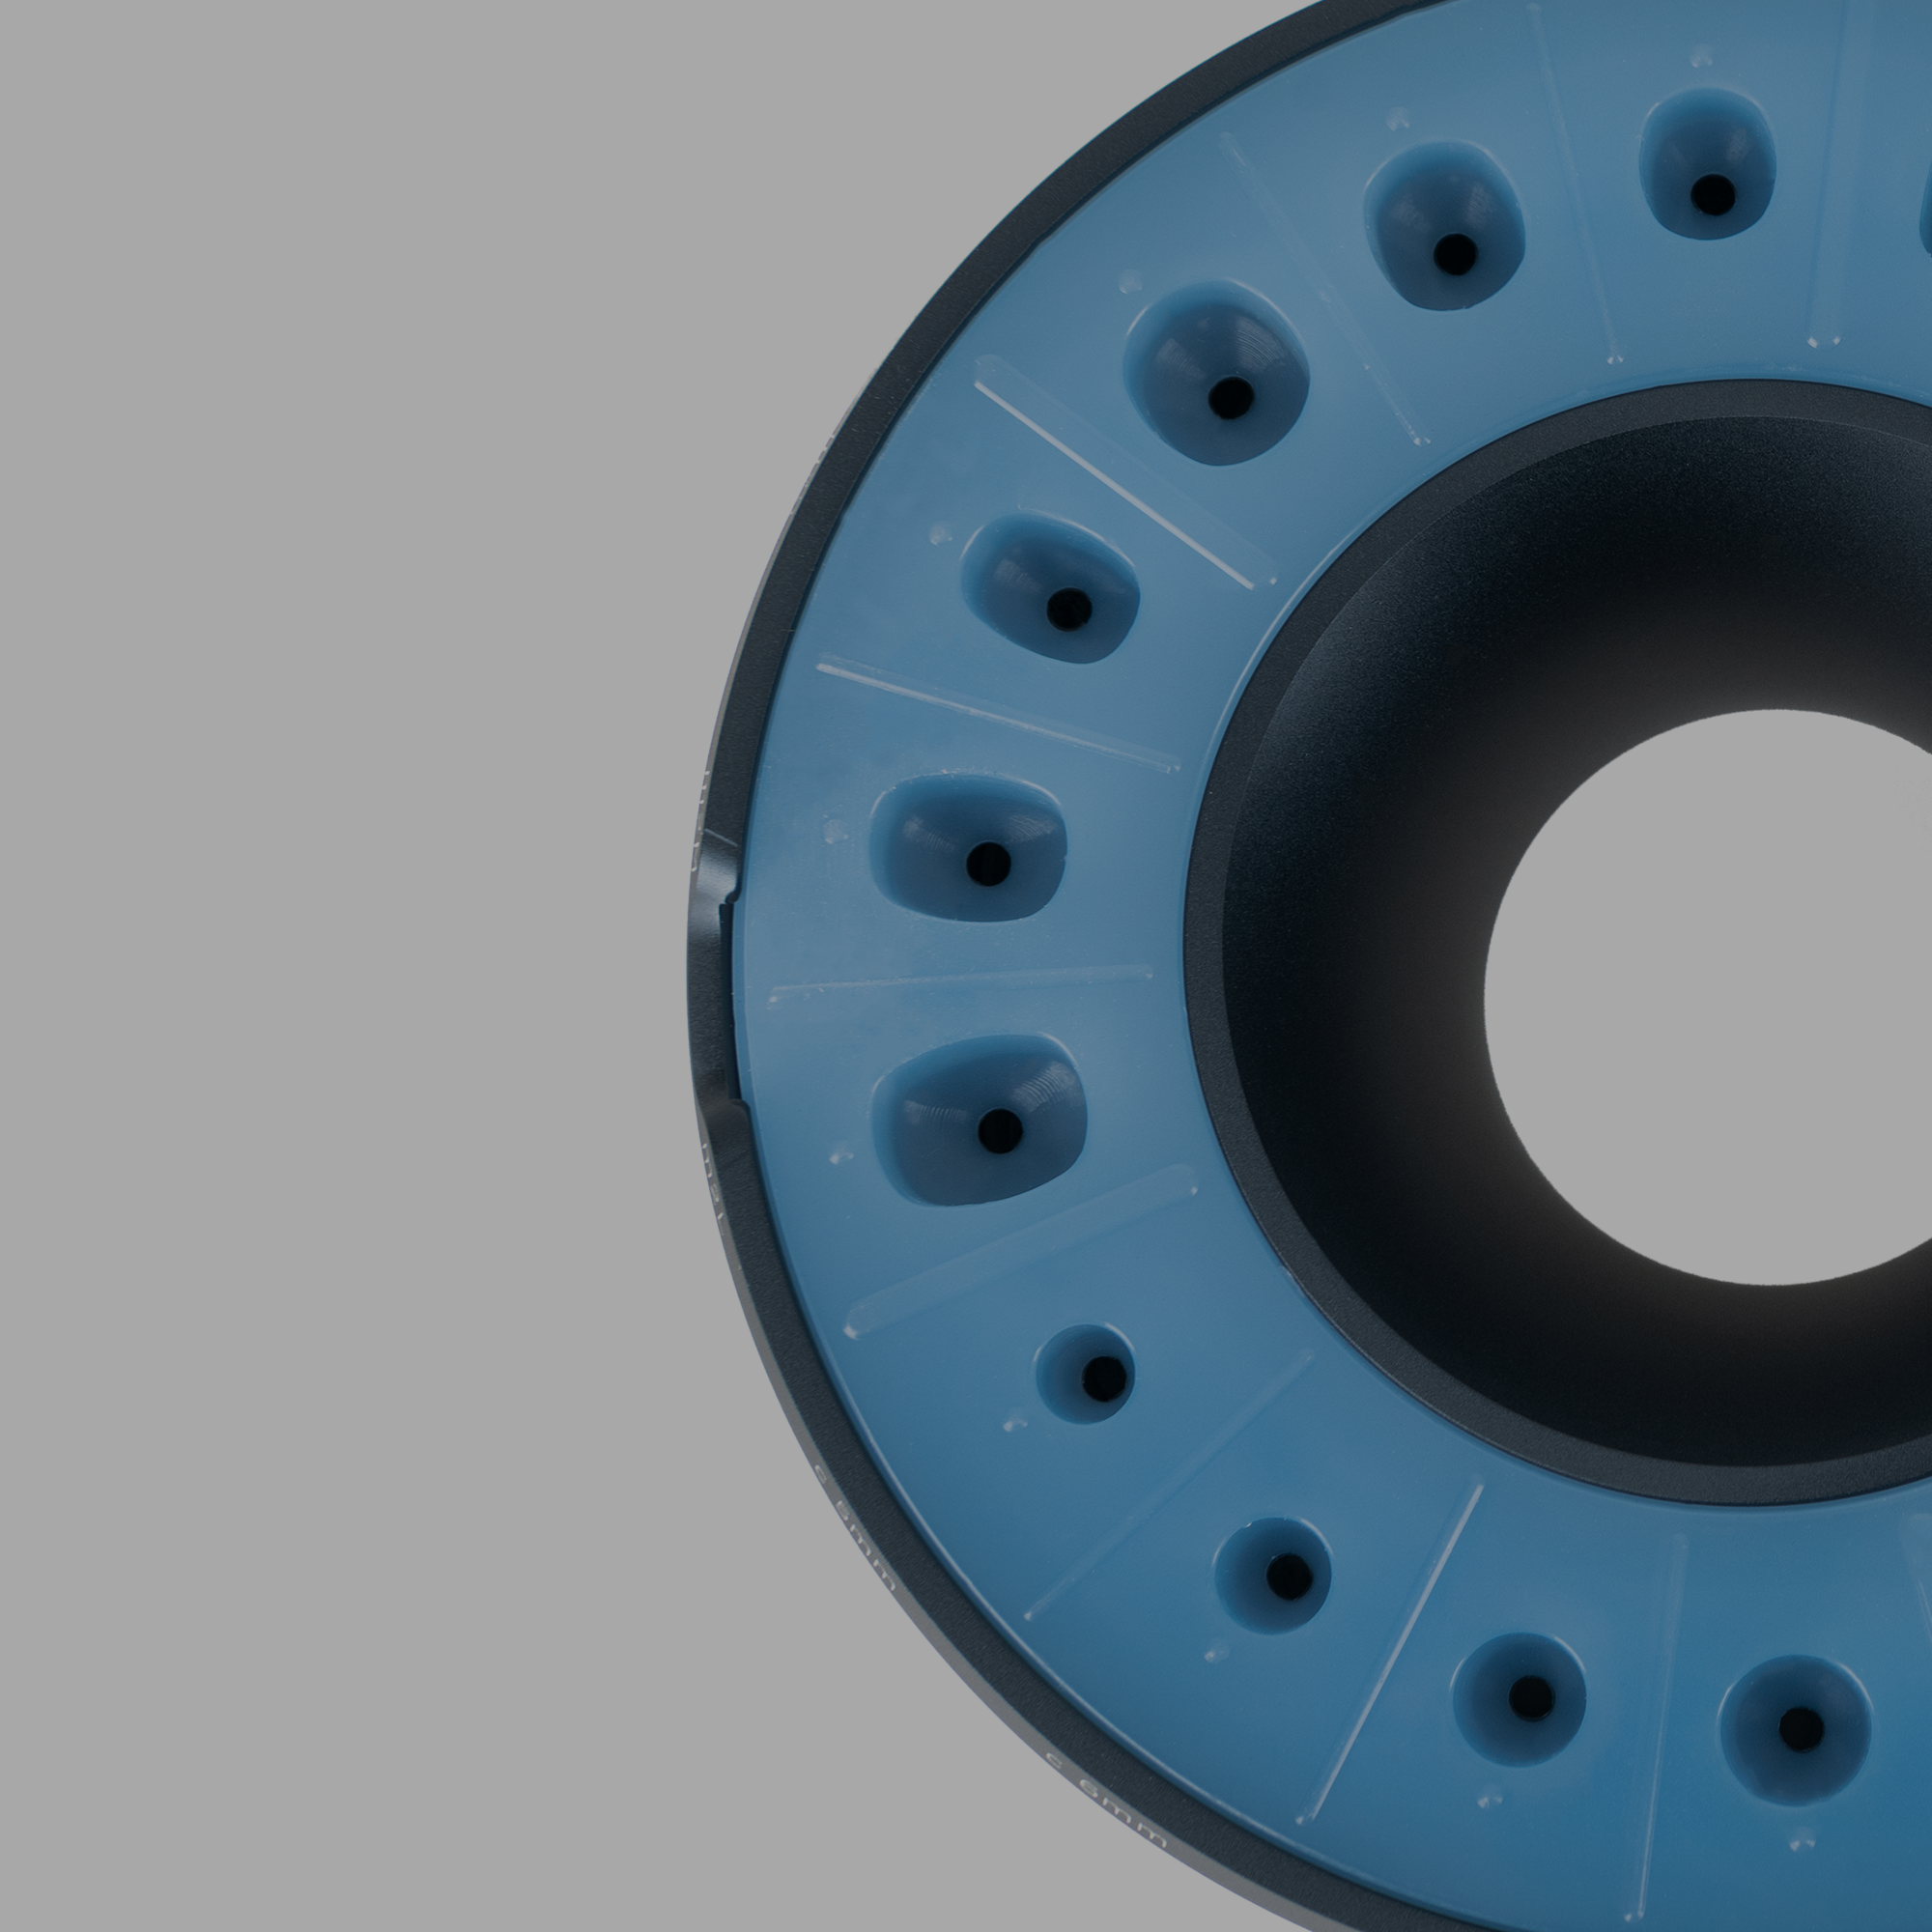
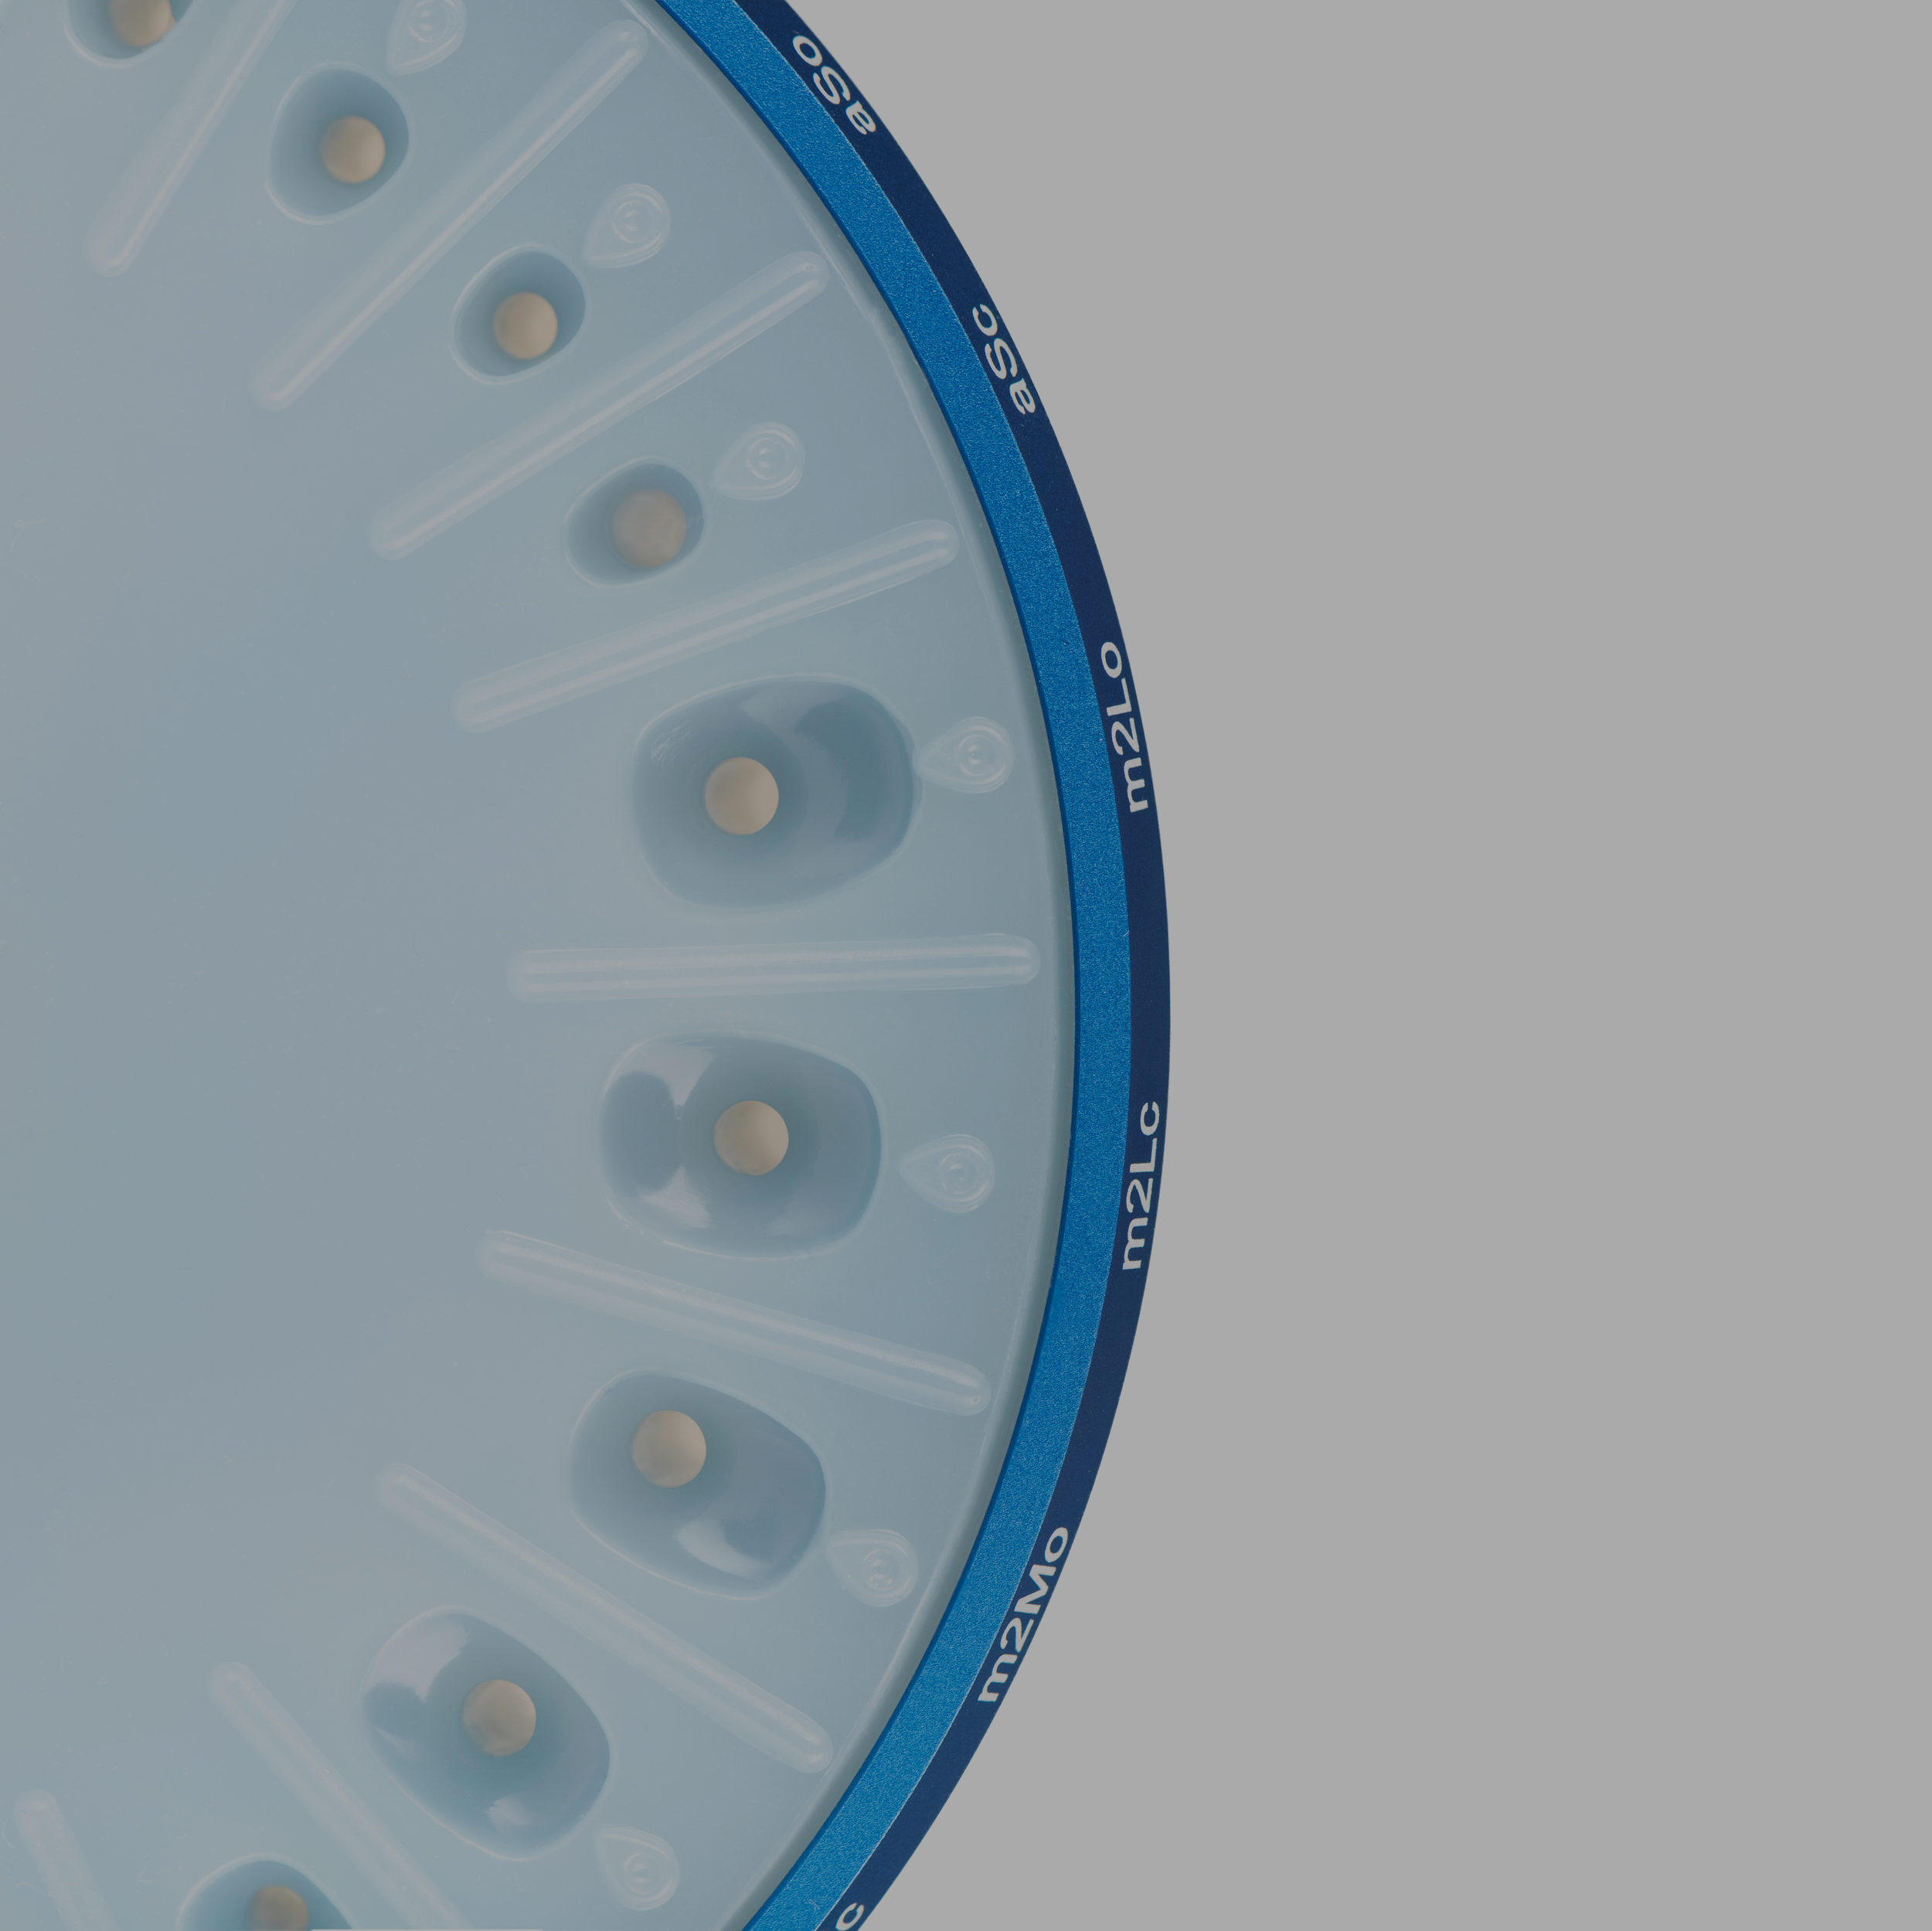
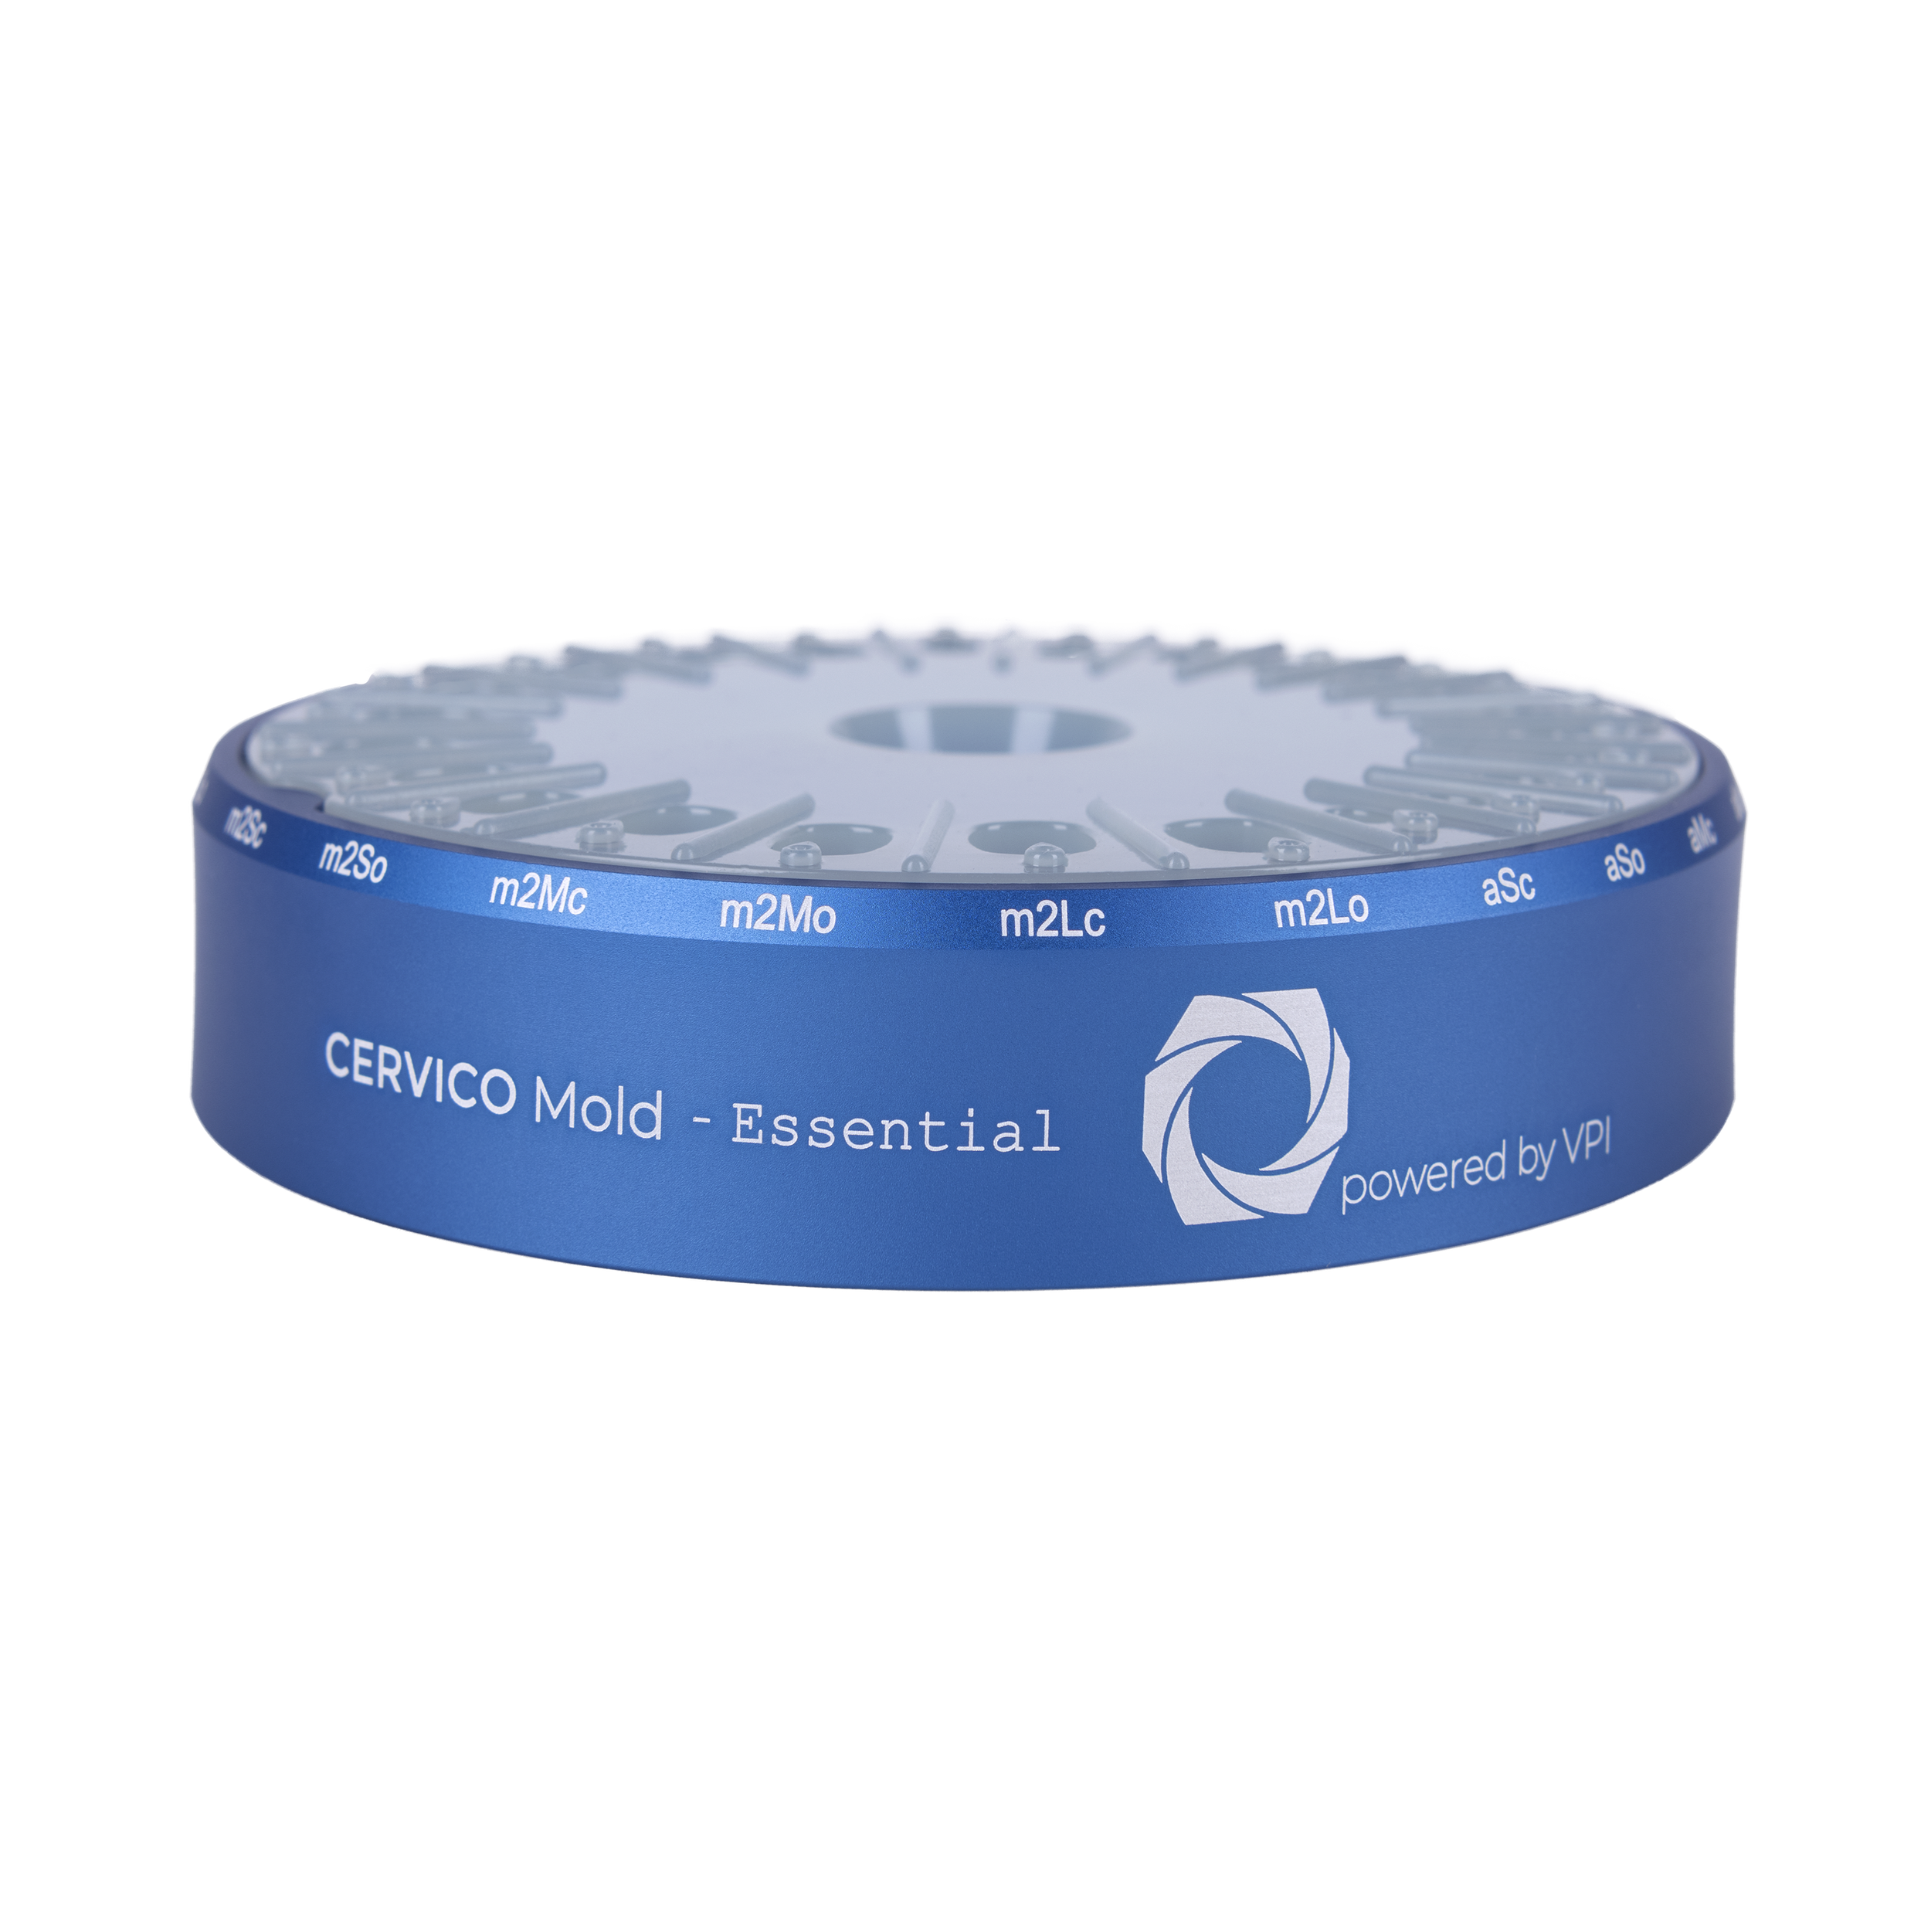
Cervico Essential Mold
Overview
The Essential Cervico Mold is a simplified version of the Cervico Premium Mold that works with the stock implant analogs available from the different implant companies.
As per the Cervico Premium Mold you can fabricate Cervico healing abutments and impression posts by utilizing one or two pieces prosthetic components, made out of titanium, or peek, or other suitable material as they come available by the implant companies.
The Essential Mold incorporates wells with shapes that replicate the shape of the root trunk of different groups of teeth; a (anterior), p (premolars), m1 (lower molars), m2 (upper molars). Each shape is available in three sizes S (small), M (medium), L (large) and two options of symmetry: Centered (c) and off-centered (o).
E.g. m1Lc: Lower molar, Large size, centered m1Lo: Lower molar, Large size, off-centered
Each well presents on its frontal side a “tear” like extrusion. This extrusion functions as a reference mark for the buccal surface of the implant site.
How it works
Connect the temporary abutment to the implant analog and insert into the desired well the system lab analog/temporary abutment. Once the top surface of the abutment is level to the bottom surface of the well, you have reached the final vertical position.
Rotate the whole system (lab analog/temporary abutment) till the mark present on the temporary abutment, that corresponds to the proper position of the prosthetic connection, becomes aligned with the “tear” protrusion present on the front surface of the silicone well.
Fill the open space of the well with the composite resin material. For large shapes it is suggested to do this process in two increments in order to ensure proper light curing of the material. The duration of light curing is depended on the recommendations of the composite resin manufacturer and the light source specifications. In general a safe approach suggests a total time of 60 sec light curing inside the well and an additional light curing of 60 seconds after the custom healing abutment is fabricated and removed from the Mold.
Proceed with polishing of the composite resin surface of the cervico healing abutment with polishing mops and polishing paste in order to obtain an even and smooth surface. Disconnect the lab analog from the Cervico healing abutment and proceed with proper disinfection of the latter, prior to its clinical use. Disinfection methods follow the same standards as per disinfection of implant abutments and implant prostheses prior to their installation in the mouth.